Sewing: Piecing the Puzzle Together

 There was no holding back this week's guest sewing ambassador, Liz Baumgart (@thatsewliz) from hacking the Nerida Hansen Smock Dress sewing pattern. She did not hesitate in transforming it into a two piece.
Liz delivered her own modifications to flip this pattern on its head and the result is a knockout. Take note of the pocket lining for a special accent.
Her instructions are as follows:
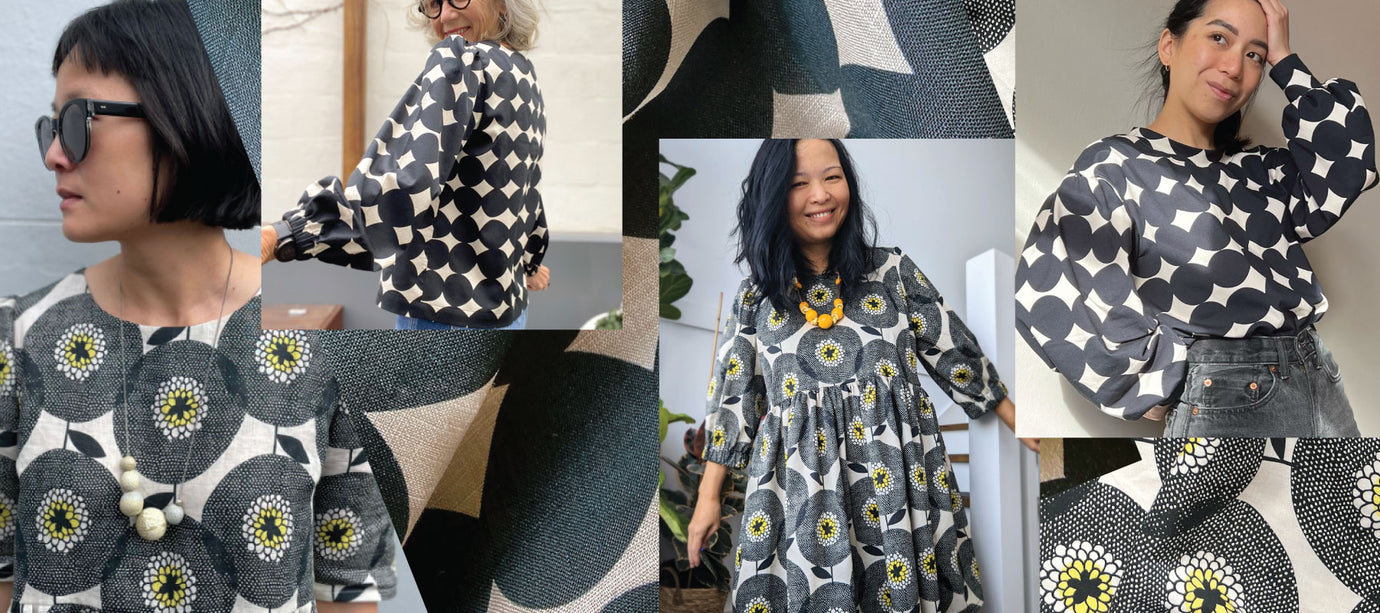
I had the joy of working with the latest Tencel linen (design by Jennifer Bouron) in two colourways. I didn’t have quite enough fabric for two dresses so I thought to myself, “Why not hack the NH smock dress into a top and skirt, to make them more versatile pieces in my wardrobe?”
I had never used this fabric before and have to say that the touch is so beautiful but do be careful that it can be a little slippery if you haven’t sewn with lightweight materials before! It has the perfect combo of drape and luxurious feel to the skin.
Alright, let’s get into some hacking.
You’ll need (on top of pattern requirements):
- 5mm wide elastic for sleeves x length of your choice
- 3cm wide elastic for skirt waist x length of your choice
Cutting out your fabric
TOP
- Cut your bodice, sleeves, neck facing pieces as per instructions
- If you’re like me and prefer an elastic casing for the sleeves, you can skip the sleeve binding pattern pieces as they’re not needed.
SKIRT
- For my 3cm wide elastic, I decided to add 9cm to the top of my skirt to form the elastic casing. Trace a line above the top of the skirt pattern piece and cut accordingly.

Sewing your pieces
TOP
- Follow all of the instructions to attach your sleeves, bodice pieces and neck facings together.
- To finish the sleeves, rather than attaching the bindings, I folded the hem of the sleeves at 1cm twice and topstitched. (Note: you may need to fold more depending on the width of your elastic.) Make sure to leave a gap near the sleeve seams for you to insert your elastic.

- Insert your elastic into the casing - I like to use a pin. Secure your elastic by sewing the ends together.

- Close the gap of your casing by finishing the topstitch.
- Since we’re not attaching the skirt here, hem your bodice pieces with a double-rolled hem.

SKIRT
- Follow all of the instructions to attach your pockets and skirt pieces together.
- For the waist, fold in 1cm then fold again at 4cm and once more at 4cm. (Note: you may need to fold more depending on the width of your elastic.) Top stitch along the edge of the fold to form your elastic casing - make sure to leave a gap at the start and end of your stitching for you to insert your elastic.
- Insert your elastic into your casing - again, I like to use a pin. Secure your elastic by sewing the ends together.

- Close the gap of your casing by finishing the topstitch.
- Check that you’re happy with the length of the skirt. I finished mine with a double-rolled hem.


 Visit www.neridahansen.com.au to shop both designs and sewing pattern, then follow these steps to copycat create.


