Sewing: Katie Kortman’s Double Collar Pattern Hack

Clearly, we cannot get enough of Katie Kortman and her hacks. They are full of fun and take an outfit to the next level. Read on for step-by-step instructions by Katie herself on how she added some pizazz to the Nerida Hansen Fabrics Everyday Dress pattern. And it is not as tricky as you think!

There’s nothing better than a simple shirt dress in summer! Unfortunately, it’s winter over here so this photoshoot was very cold, and my skin was (is) very pale!
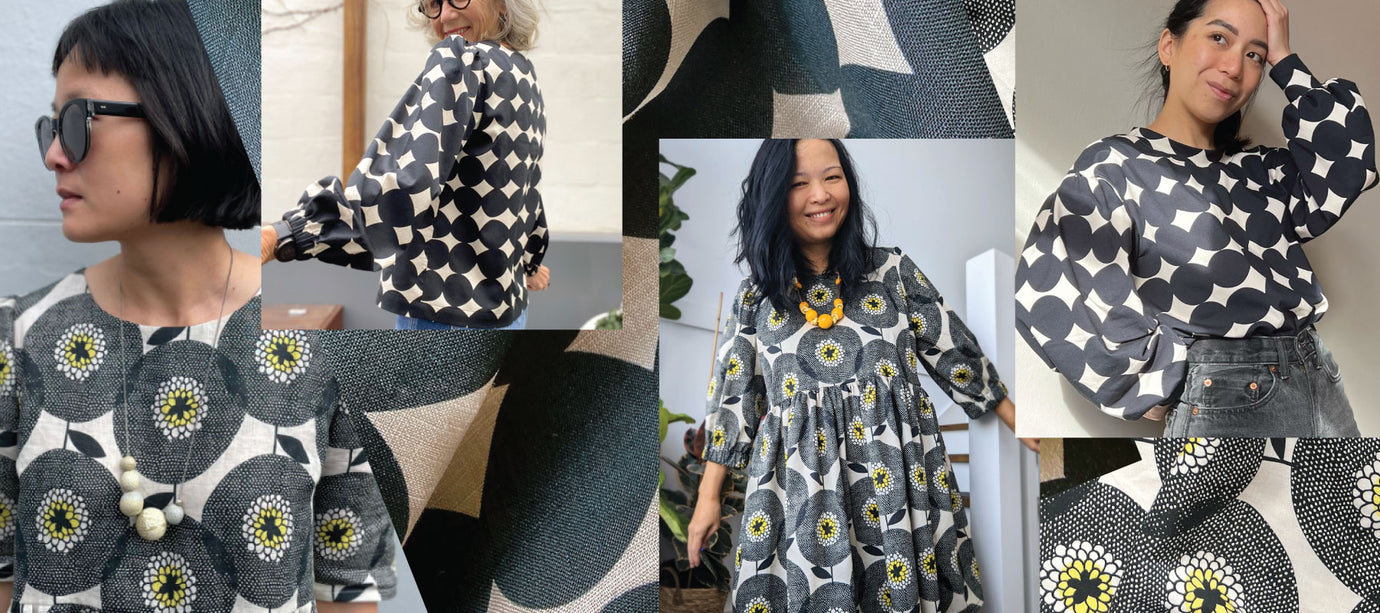
I took Nerida Hansen’s simple Shift Dress (Everyday Dress) pattern and added a few fun elements to spice it up! That pattern is the perfect jumping point for so many hacks! It is also a great beginner pattern, for those learning to sew. To make it even more fun, I used two of the prints from my line to make it bright and a little wild!

Before we get into the collar, here are the other (simple) things I did to it:
- Instead of cutting the front and back on the fold (like the pattern said), I cut two pieces (out of two different fabrics). I added 1cm seam allowance to them and sewed the contrasting fabrics together down the centre.
- I added two patch pockets but cutting big scares, folding under the edges and topstitching down.
Now for the collar hack!
I added a double collar, so here are the details on how!
 First, lay the front and back bodice pieces so that the shoulder seam is overlapping (the amount they would if sewn together). Now you have an idea of the general shape and length you need for the inside shape of the collar. (This was the ‘V’ neck option of this dress, and I didn’t want it to go all the way down the ‘V’ but normally would have it go to the centre).

After I traced the opening of the neck on the pattern to get the inner shape, I decided on the outer line shape and the width of the collar. Once I had the top collar shape, I needed to make the bottom scalloped collar. I placed it on top of the fabric (you could/should also do this on tracing/pattern paper) and designed the scallop shape and width around it (on one side).
 Here are the pattern pieces I created and the various widths I used so you can see.
Once you’ve cut two of each collar, you need to interface one side of both collar pieces and sew them right sides together (RST). You need to be careful as you sew the scallops, and do lots of pivoting to get those points right! And then make sure you do a little clip in that ‘V’ as shown below. This will help for when you turn it right sides out.

 Turn them right sides out, press and topstitch the edges (of both collars).

You can sew the collar on in different ways. Because this dress had a facing for the v-neck, I just attached the collars as you see above, and then put the facing on.
That’s it! I love adding collars to things, so I have one more hack that includes one with my new Nerida Hansen collection. Stay tuned!
Words by Katie Kortman
Katie’s striking range of fabrics are available at www.neridahansen.com.au and the Everyday Dress pattern is found online here. Hack away people!
Previous article

Next article


