Sewing: Hacking Nerida Hansen Smock Dress

Hold onto your hats makers and creators, because the following blog is going to send you into a tizzy. Artist, designer and colour extraordinaire, Katie Kortman, recently added her very own splash of flair to a Nerida Hansen Fabrics pattern and we could not be happier.
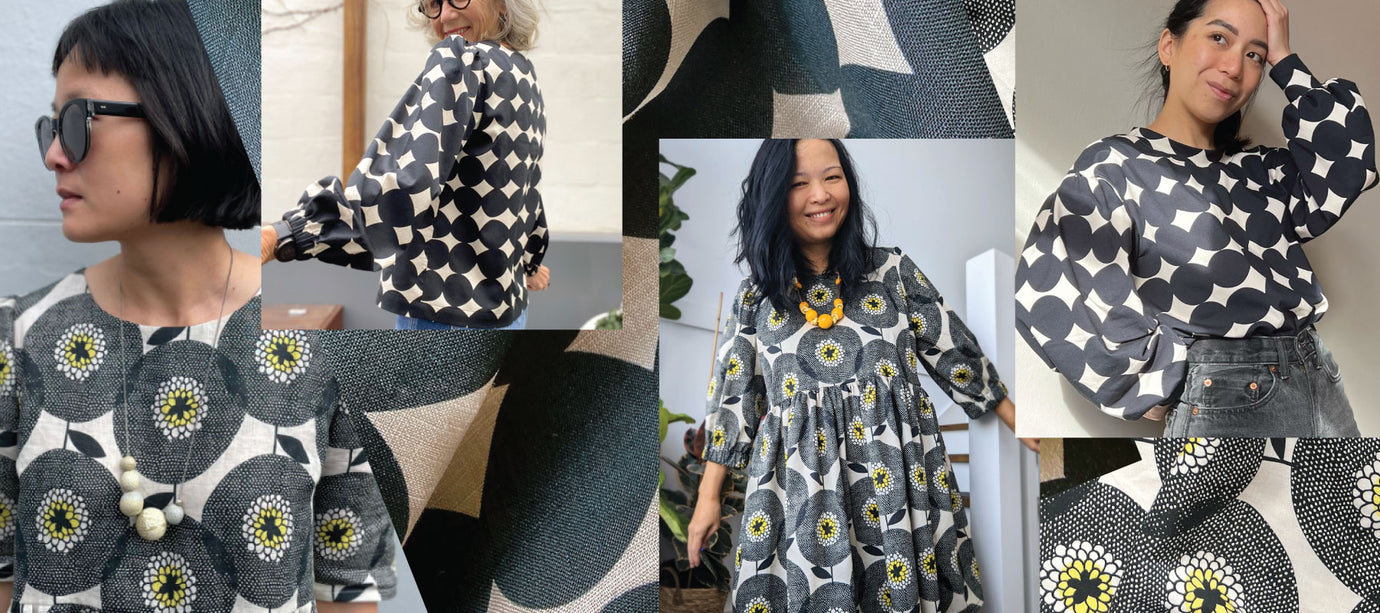
We were literally doing cartwheels in our office space when we saw Katie’s end result to our Smock Dress. It is insanely good! Here are her words on hacking a Nerida Hansen Fabrics pattern.

I’m ready for some forest fairy parties in this dress, right?
I am in love with this dress that I made using Nerida Hansen’s Smock Dress pattern, and today I am going to show you how to make one too. As you can see in this photo, I am wearing three different Katie Korman fabric prints, which are now available on their website as well. I’m excited for this launch!
For this hack you will need:
Six inches wide by 54” long strip of fabric (I just did the width of the mid-weight cotton from selvedge to selvedge)
Less than half yard of fabric for contrasting triangle
Four yards of 54” wide fabric (I used mid-weight cotton)
Nerida Hansen Fabric’s Smock Dress pattern
Step 1: Cut Out the Pattern Pieces and Additional Tiers

For the skirt: Instead of cutting it at full length, cut it 12.5-13” long (same width). This will be your first tier. For the next two tiers you need to have them be 1.5 to 2x wider than the bottom of the tier before them. You may have to piece more than one section together to achieve this. The longer it is before you gather it, the more gathered it will be. (Follow the pattern instructions for gathering and sewing together).
Step 2: The Bodice

Next, we’re going to make this magic happen!

Fold your front bodice in half RST and draw a diagonal line where you see my ruler and cut this piece out. I left about one inch for the shoulder here.

Now take the piece you cut out, and place it on top of your contrasting piece, making sure the grain is in the same direction. Cut it out. (Add S/A if needed – see note below).
Normally, I would have made a pattern piece instead of directly cutting from the fabric, because then you could add seam allowances. This dress is made to fit bigger and I found that it still had plenty of room. If you are worried about that, do this by tracing the original piece and create new pattern pieces with seam allowances added.

Here you can see how long my ‘V’ is on each side.
Time for the ruffle! Cut a strip 6” wide by 54” long (selvedge to selvedge). Fold it in half width and press. Next, sew two lines of basting and gather the ruffle to fit the length of the ‘V’ bodice pieces.
Now baste the ruffle to the bottom bodice piece.
Place one pin aligning the points of the ‘V’.
Now pin one side and sew. I did the smallest seam allowance possible (about ¼”) so that I wasn’t out too much from hacking that front bodice!

Repeat for the second side, and then turn over and press the seam up. Clip at the ‘V’ post if necessary, serge/finish the seam.

You can topstitch this down if you’d like. Otherwise, hooray! You’ve done it!

When I attached the back bodice, there was a little extra at the shoulder/armscye (due to cutting apart the front and losing a little), so I trimmed it off as you see here.

When you see the sleeves on, make sure to turn the ruffle under so it doesn’t get caught in the sewing!

That’s it! The rest of the instructions can be found in the pattern. This hack can be done on many different shirt patterns so I hope you’ll try it out!
Words by Katie Kortman
To purchase the Nerida Hansen Fabrics Smock Dress sewing pattern, click here. Katie's collection is available at www.neridahansen.com.au and for more of her own stories visit www.katiekortman.com.
Previous article

Next article