Sewing: Daisy Does it Again, This Time a Collar

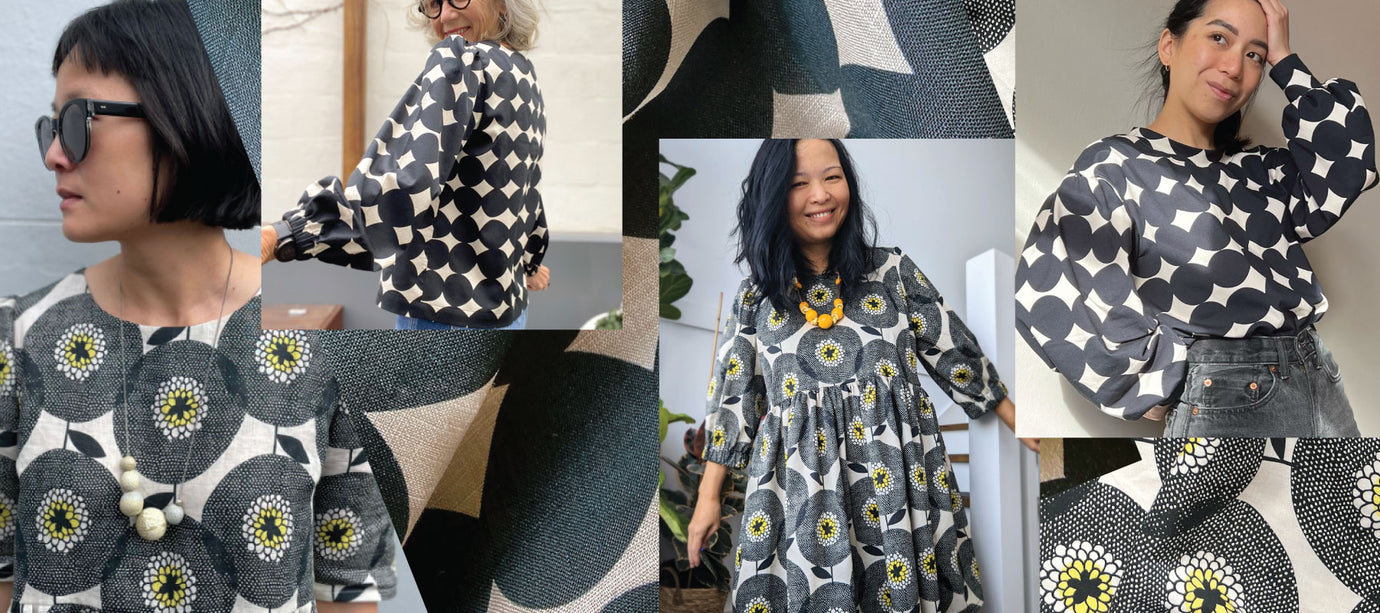
I finished making the Babydoll Dress and had a little bit of fabric leftover so I decided to make a collar to complete the look!

Here's how I did it:
Here's how I did it:

Collar - Cut two rectangles 40cm high by 60cm wide.
Tie - 1m of bias binding. I cut mine from my scraps.
1cm seam allowance
-
Cut your 40cm piece of fabric in half so you have two rectangles 40cm high by 60cm wide. Fold one rectangle in half with right sides together and place the pattern pieces on the fabric with the should seams touching. Line up the centre front with the fold. The neckline should measure about 15 cm from the top edge of the fabric.

- Trace the neckline, straigtening out the bottom of the line like the photo. Using a ruler, mark 12cm away from the line that you have traced all the way around the curve. Match up the lines to create the collar shape.

- Cut out the collar piece and then use it to cut out a second piece that will be used as the lining.

- Place the two collar pieces together with right sides facing and sew around the outside edge.

- Trim the seam allowance and then turn out the collar and press.

- If you have enough fabric remaining, cut and make 140cm of continuous bias binding. I pieced together my scraps so that I had enough.

- Mark the centre back of the collar and the center of the binding. Match these two marks and pin the bias binding to the collar, sandwiching the raw edge of the neckline inside the binding.

-
Sew the binding to the collar. Trim any loose threads, press and try it on!


 Daisy uses our Margaret Jean faces fabric - available here
Previous article

Sewing: Xanthe Grundy Keeps Our Heads Warm