Sewing: A Topstitch Waistband Tutorial

Why a topstitched waistband? It just looks a bit fancier and sits a bit flatter.

This method will work on just about any pattern that uses elastic in a casing, knits or wovens. You can use it on cuffs too. Let’s go!
- Cut your waistband and assemble as per your patterns instructions, you may want to increase or decrease the width of the waistband depending on the elastic you’re using. Generally you’ll want the waistband to be 5mm-15mm wider than your chosen elastic, depending on the seam allowance.

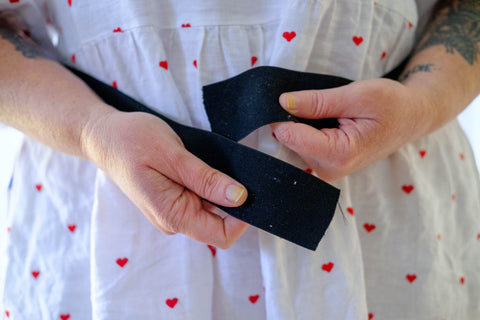
- Stretch your elastic a few times then wrap it around your waist (or wherever it will sit on your body), cut it to the correct length with about a 2cm overlap at the ends.

- Overlap the ends of the elastic, pin and sew. You can pin the ends flat and on top of each other and sew with a box shape.

- Divide the elastic into quarters and mark with pins or chalk. Do the same with the waistband. Each side seam will be marked, as well as the centre front and centre back.

- Place the elastic inside the waistband, matching the pins or markings. It will be shorter and will need to be stretched between each quarter when you sew it.

- Take the waistband over to the sewing machine and use a straight stitch. Make the first row of stitching closest to the folded top edge of the waistband, using your presser foot or the lines on your footplate as a guide. You will need to stretch the waistband (and the elastic) out flat to sew. If you don’t, it won’t be able to stretch over your hips! It feels a bit tricky at first, but use one hand to stretch towards you and the other to stretch the waistband away from you, out behind the sewing machine. Try to think of it as stabilising the waistband, rather than pulling it as we still want the feed dogs to be moving the fabric, not us. Make sure the edge of the elastic is lined up with the edge of the waistband so it gets caught in the stitching.

- Line up and do the same for the second and third rows of stitching. I like to then add a fourth row just on the edge of the waistband to catch both raw edges, but not the elastic. You can do more or less rows of topstitching, depending on your waistband width and your personal preference.

- Pin your waistband to your pants in quarters again, just like we did for the elastic and stitch them together. Again, you’ll need to stretch the waistband to fit the top of your pants.

- Sew them together! For wovens you can use a straight stitch on a regular sewing machine, but I prefer an overlocker for knits due to the stretch.


Check out our selection of organic jersey knit and French terry fabrics here.


