Sewing: Easy Instructions For Our PDF Patterns

Fire up your printers and get your tape dispensers ready because Nerida Hansen Fabrics now has patterns available in PDF form. It’s time to stick a pattern together with the help from our blog contributor DIY Daisy.
The process of putting a PDF pattern together can take about one hour depending on the size of the pattern. I like to think of the time spent putting a pattern together as pre-sewing meditation. It’s a time to get familiar with the curves and contours of the pattern pieces and begin thinking about how all the pieces go together. I always put on some good music or a cheesy old rom-com and get sticking.
To use a PDF pattern all you need is a printer full of paper, tape and scissors.
 Step 1 – Clear Space
You will want to work on a large surface like a table or on the floor. If you have a furry sewing assistant (a cat or a dog) advise them to leave the room, sometimes the paper spread out on the floor looks very comfortable for them to monitor your work from. Don’t worry if your workspace is smaller. Most patterns can be split up into sections to make the pattern easier to handle and you can also cut off pattern pieces as you go. Step 2 – Prepare Printer
Before printing, ensure your print settings are set to actual size or custom scale 100 per cent. Print only the first page and then measure the square to check the scaling is correct. If the scaling is off, adjust your print settings and try again. Once you have the scale correct, print the rest of the pattern pieces.
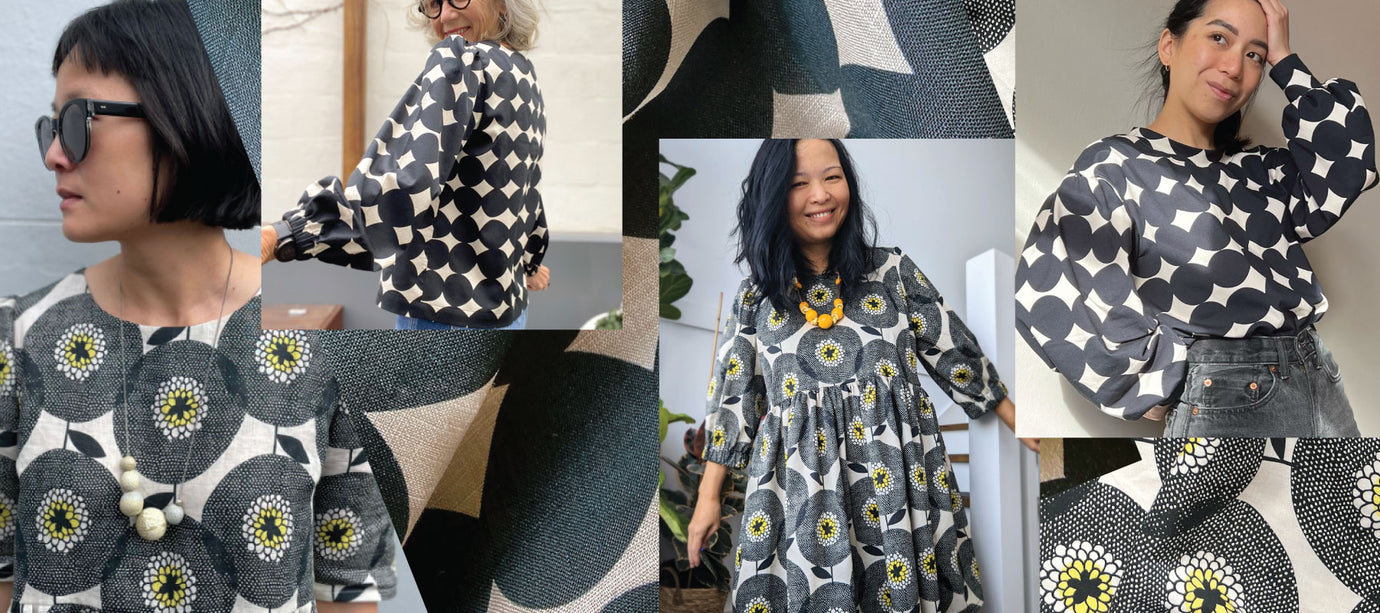
Refer to the Print At Home Key to get an idea of the final layout and if you have a small space to work on, see where you can split the pattern up. The Nerida Hansen Smock Dress pattern for example shows three sections that I could break the pattern up into - top front & back, skirt and sleeve. If you have lots of space, you can just stick the whole thing together and not worry about doing this.
 Prepare the sheets of paper by trimming off the top and right border with paper scissors or if you have one, a guillotine. I like to layer three to four sheets of paper at a time to speed up the process.
 Step 3 – Get Sticking
Start taping the sheets together by lining up the triangles and matching up the letters. A to A and B to B, etc. Be sure to line up the lines as closely as possible and tape liberally. I like to work in rows from left to right and tape the sheets together at the top, middle and bottom of the paper. I use four to five centimetre long strips of tape. 

 Step 4 – Snip Snip
Once all of the pattern pieces are stuck together, refer to the sizing key on the pattern and then cut out your size using paper scissors. Now your pattern is ready to use! Step 5 – Store Safely
Keep your paper patterns folded up inside an A4 envelope to keep them flat and make them easy to store in compact spaces. You can even stick a picture of the pattern to the front of the envelope to make it easy to identify.


